
Capstan Drive (05/31/2024)
About
Gears are the common choice for a speed reducer in robotics, but I have a few points of contention. Gears have backlash which limits precision. Gearboxes can also be a bit loud especially if 3D printed. While it is possible to reduce backlash and noise with high-precision metal gears, purchasing such gears can be quite expensive. The solution to this is a rope-driven reducer called a Capstan Drive. I stumbled across this unique reducer when I discovered Stanley, a 12DOF quadrupedal robot by the company Ahead.IO. Considering that Capstan drives are not very popular, they quickly piqued my interest.
Rope Selection
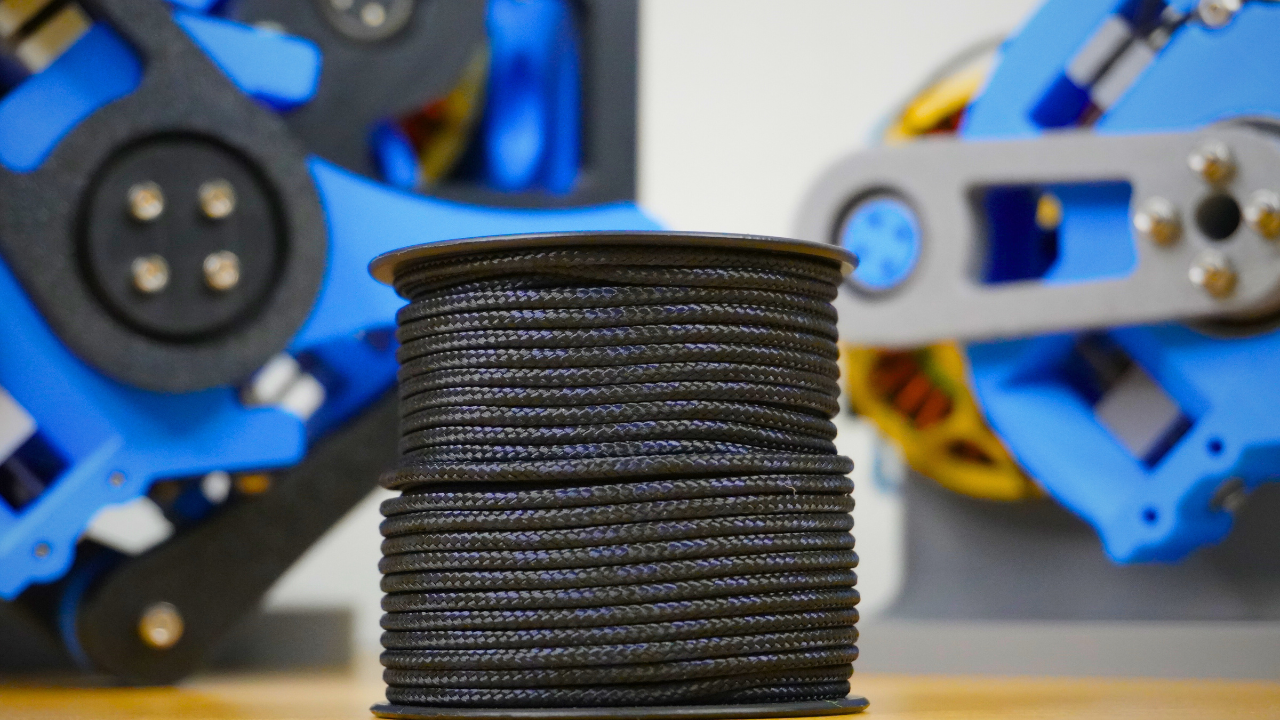
There is a lot of considerations that go into designing a capstan drive and the main one is rope selection. I started my rope selection journey with stainless steel wire which was a prospect short-lived. I had originally built a test actuator with the stainless steel wire and let it run continuously. After 4 short hours later, the wire broke. I ran two more trials and the wire continued to break each time. None of the trials lasted more than 5 hours. This was quite surprising to me considering that the wire was extremely strong. After doing some digging I found that the cause of failure had nothing to do with strength and everything to do with a D/d ratio. In the case of a capstan drive, the D/d ratio is the ratio of the small drum diameter to the rope diameter. For metal wires, the minimum D/d ratio is quite high meaning that the small drum needs to be fairly large in diameter to prevent failure. I then moved my search to synthetic ropes which have much lower D/d ratios. As always in engineering, there was a tradeoff to this decision. With synthetic cable, I quickly discovered creep or the permanent stretch of rope. One important step in assembling a Capstan Drive is to ensure that the rope is fully tensioned to get rid of any slack. When put in tension, every rope will stretch. The only question is how long until it stretches significantly. When rope in a capstan drive undergoes creep, it goes out of tension and creates slack resulting in non-precise positioning. Unfortunately, most synthetic ropes have higher creep rates than what is needed for Capstan Drive. Since re-tensioning the rope every day seems quite inefficient, I conducted more research and discovered two ropes that claim to be inextensible: Vectran and Dyneema DM20. After performing a two-week endurance test I came to the conclusion that DM20 was the best rope for a Capstan Drive.

5R Parallel Robot
The second device that I built to test the capstan drive was a 5R parallel robot more commonly known as a 5-bar linkage. This robot has 2DOF and uses a coaxial design similar to the Stanford Doggo. The design of the robot uses the design of the test stand. I derived inverse kinematic equations for the robot and tested speed and precision by making it jump along a linear rail and draw basic shapes.


How it Works
Imagine a small drum and a big drum where rope is wrapped around the smaller drum and fixed to the bigger drum on both sides. With this configuration, the drums become meshed together in the same way as a set of gears. Furthermore, the drums operate on the same principle of mechanical advantage that gears do. The gear reduction is equal to the ratio of the drum diameters. The benefits of a capstan drive include being relatively inexpensive, having zero backlash, low inertia, high torque transparency, and low noise. One question that I had when first exploring this reducer was “why doesn’t the rope slip if it’s just wrapped around the smaller drum?”. The answer to that question lies in the capstan equation. With each turn of rope on a drum, the amount of friction increases exponentially. With 3-5 turns of rope, there is enough friction for slipping to not be an issue. One of the obvious drawbacks of a Capstan Drive is limited rotation, but this isn’t an issue if your robot doesn’t need fully rotating joints i.e. quadrupeds and bipeds.
Actuator Test Stand
To test the effectiveness of a capstan drive I decided to build 3 devices. The first device is a robotic actuator. I went through lots of prototyping with the drum design, tensioning methods, and rope mounting options. I eventually settled on the design seen on the left which has the following features:
3D printed in PLA
Weighs 852g
120° rotation
8.55:1 reduction (quasi-direct drive)
Helical pattern on both drums for guided unraveling
Lead screw to tension the rope
One of the issues that I encountered while designing the test stand was getting an exact gear reduction. I intended for the reduction to be 8:1, but for some reason making the big drum exactly 8 times the diameter of the smaller drum doesn’t do the trick. I believe this has to do with the helical pattern of the drums, but I am unsure of how to account for that in the gear reduction calculation. I ended up just leaving the reduction as 8.55:1 since its pretty close to the desired value. The test stand design is open source and can be downloaded on GitHub.


Quadrupedal Robot Leg
The third and final device that I built to test the Capstan Drive was a single 2DOF quadrupedal robot leg. I plan on building a robot dog with a capstan drive in the near future so I was curious to test the waters. The quad leg shares a very similar design to the 5R Parallel Robot since both use a coaxial shaft design. Just like with the 5-bar linkage, I derived inverse kinematic equations for the quad leg and made it jump along a linear rail. Overall the capstan drive is extremely smooth compared to a conventional gearbox. It’s the exact reducer that I have been searching for to make affordable yet high-performing robots.